|
Although not my cup of tea, a lot of
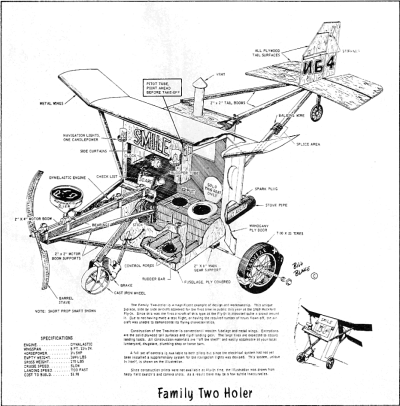
people like building and flying novelty aircraft like this Flying Outhouse that appeared
in the April 1974 edition of American Aircraft Modeler. It should be easily scaled up
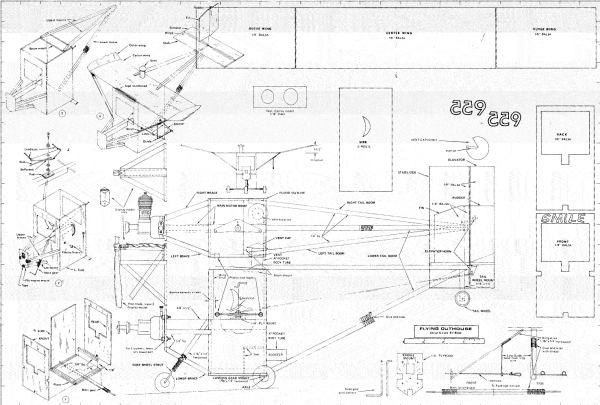
for larger engines or even converted to electric power. Click on the plans at the bottom
for a larger version. You might be able to buy full-size plans from the
AMA plans service. All copyrights
(if any) are hereby acknowledged. Flying Outhouse
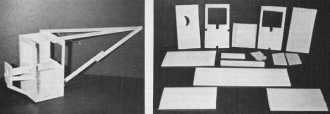
Below left: Framing up an outhouse doesn't require a carpenter. A good building
rule-of-thumb is to always keep things flush, but in this case. well ... Let's leave
it at that. Below right: If you can't cut a straight piece of balsa, don't worry about
this building project. Keep things aligned, of course, but a few jagged edges only add
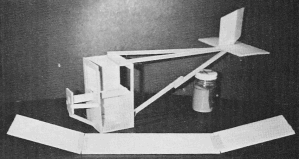
to the appeal. RIGHT: The wing is prepared for gluing to the "cabin." Having made our
readers privy to this information. all that can really be said is that this photo shows
a dope behind the water closet.


 Step
1: Not scanned yet Step
1: Not scanned yet
Step 2:
Step 3:
Step 4: Cut the stabilizer and elevator to shape and fasten together with a strip
of cloth hinge material; leave a 1/16" gap between them. Install elevator and horn. Cut
the fin and rudder to shape and glue together. with the rudder offset 1/2" to the outside
of the flying circle. Glue fin to the stabilizer on the stab centerline. Glue stab to
upper booms and place end of pushrod in elevator horn. Secure the push rod with a soldered
washer or 1/2A wheel retainer.
Step 5: Cut the center wing panel and the two outer wing panels to shape and sand
in a slight airfoil section. Pin the center panel flat to the work board and glue the
outer panels to it, blocking the tips of the outer panels up 11k". Give the joints two
coats of glue and add cloth reinforcement top and bottom. When dry. cut the wing center
section to fit around the upper booms on top of the cabin. Mount the wing to the boom
mount, cabin front and sides with glue. Cut wing struts to length and glue in place.
Bend line guide to shape, glue and wrap with thread. Be sure to put it on left wing strut.
Cut out the vent cap. form it into a cone shape and glue to the vent tube. A piece of
No.7 rocket body tube is the booster tube at cabin lower rear. Or, the tubes can be rolled
from stiff paper.

<click for larger version>
Notice:
The AMA Plans Service offers a
full-size version of many of the plans show here at a very reasonable cost. They
will scale the plans any size for you. It is always best to buy printed plans because
my scanner versions often have distortions that can cause parts to fit poorly. Purchasing
plans also help to support the operation of the
Academy of Model Aeronautics - the #1
advocate for model aviation throughout the world. If the AMA no longer has this
plan on file, I will be glad to send you my higher resolution version.
Try my Scale Calculator for
Model Airplane Plans.
|


