|
If you have a vintage Cox .010
Pee Wee engine sitting on the display shelf and you've been itching to get it in
the air again, Ken Willard's Flying Bandanna (not Banana) could be just the thing to get you
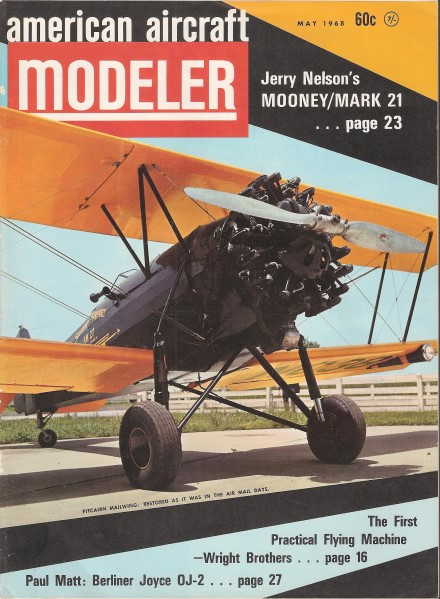
there. This article appeared in a 1968 issue of American Aircraft Modeler
magazine. Ken claims it only takes about 10 minutes to assemble, and as he says of
the bandanna 'parachute,' it is "...a built-in wiping rag for your hands after each
flight!" I remember as a kid when my .049-powered plastic Cox control line models
had finally be demolished beyond repair (no glue at the time would hold the styrene
plastic together for long), I would take what was left of the fuselage and launch
it into free flight with the engine screaming. Sad to say, but especially during
the early flying learning experience, I often got more flights from the model in
that way than while it was at the ends of the Dacron control lines :-(
Flying Bandanna - Thumbtack and a Dab of Glue
When tired of it all - wipe your hands on it. It's the universal
flying machine; bandannas are found round the world.
There it is! Our Flying Bandanna, in expanded glory, finishes
its flight with a soft landing on planet Earth.
Relax! Unravel and unwind. Anyone with a pinked-edge bandanna is a sissy.
Ken Willard
Worried about warps? Depressed by dihedral? Concerned about clobbering umpteen
hours work in one crunching crash?
Forget it for a few minutes. Make yourself a flying machine that trims itself
out in the climb, flies as high as you want it to, and when the engine quits, has
an automatic recovery system which blossoms into a parachute for a soft landing.

The only way to launch - straight up! Ken shows how. Bandanna
fans call this the up-chuck. Spectacular!
That's not all. Only takes ten minutes to make, and its a built-in wiping rag
for your hands after each flight! Make a ''Flying Bandanna," amaze your friends.
Here's the bill of materials: 1) One 010 engine by Cox; 2) One handkerchief -
or any light rag, 18" square; 3) Four strips of cloth, 14" long, 1 1/4" wide; 4)
One disk of medium hard balsa, 3/8" thick, 1" in diameter; 5) Two 3/8" long wood
screws; 6) One thumbtack; 7) A dab of glue.
Here's how to assemble it: 1) Tie the 14" strips to the corners of the cloth;
2) Tie the loose ends of the 14" strips together. This makes a sort of a parachute;
3) Attach the knotted ends to the balsa disk with a dab of glue and the thumbtack
- center the knot as closely as possible, but don't worry, it's not critical; 4)
Screw the 010 engine to the other side of the balsa disk.
Here's how to fly it: 1) Twist up the 14" strips clockwise, until the corners
of the 18" cloth come together; 2) Fire up the 010, adjusting the needle valve so
it peaks out with the engine pointing straight up - use the 3" prop furnished with
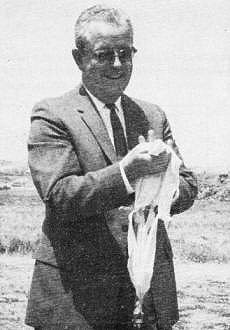
the engine; 3) Hold the running engine in one hand, the cloth in the other, making
sure that the strips and cloth are twisted; 4) Launch straight up.
On the way up, the engine torque, due to the anti-clockwise rotation of the propeller,
will tend to keep the cloth strips twisted clockwise, and prevent the cloth from
opening up. When the engine quits, it falls below the cloth, the strips unwind,
and the cloth blossoms into a parachute.
Sounds crazy? It is - but I've had more fun with it than a lot of guys have with
expensive R/C jobs. You will too.
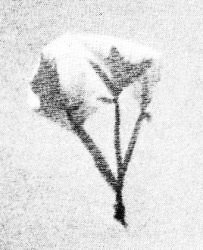
Prepare for flight by twisting bandanna and cloth strips clockwise. Canopy stays
shut as engine's torque keeps the twist in.
Posted July 26, 2024
(updated from original post
on 3/18/2017)
|